Download Oracle 11g installation software from the following link http://www.oracle.com/technetwork/database/enterprise-edition/downloads/index.html
Downloaded file will be in the ZIP format.Extract it into one folder.
Now run the setup.exe file in the software then you are able to see the following screen.
When following screen appears mention the path that at where you want to install your oracle software
Downloaded file will be in the ZIP format.Extract it into one folder.
Now run the setup.exe file in the software then you are able to see the following screen.
When following screen appears mention the path that at where you want to install your oracle software

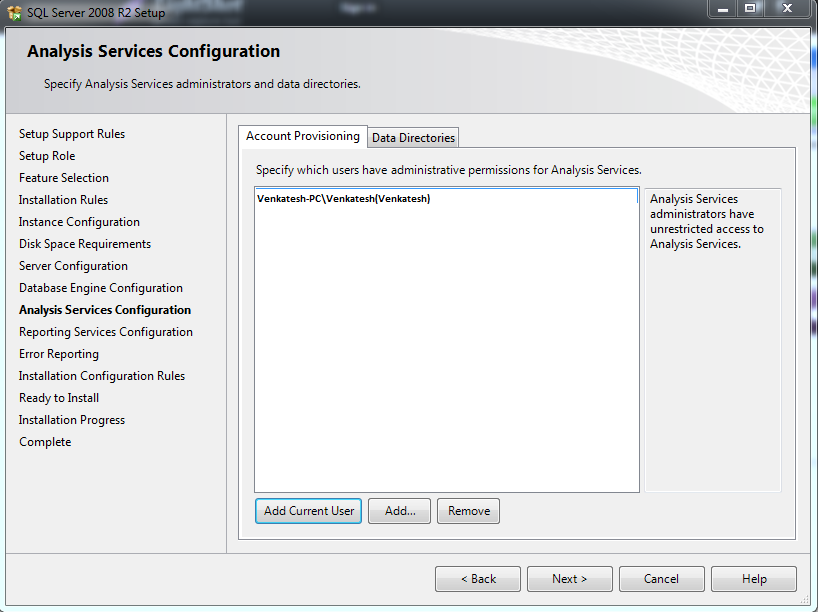
Then in the following screen you have verify some warnings and errors by checking the check-boxes


Click on NEXT


Click on INSTALL


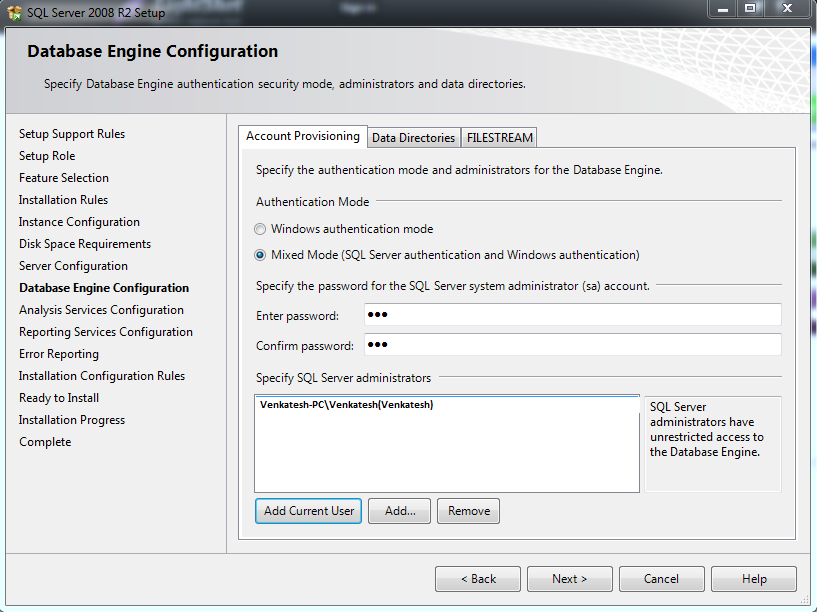
When you see the following screen Click on the PASSWORD MANAGEMENT.
In the following screen we have to unlock the users like scott and hr etc.

Uncheck the scott user and provide password in both password tab and confirm password tab.
Here i have provided password as "tiger".


Click on EXIT

Click on Yes.
Now your oracle software installation was successfully done.
By default you will get two DB tools for oracle 11g 32bit software.They are
1)SQL developer
2)SQL Plus
2)SQL Plus
SQL plus command prompt user interface and sql developer is graphical user interface.

If you want to work with SQL developer you need to install java in your machine
Click on SQL developer which is in the windows start menu.
When following screen appears click on browse button and choose java.exe which is in the JDK folder.


Here we have to create connections for user system as sysdba and for scott as normal user
Right click on the connection which is the left panel of screen.and click new connection
Provide details as mentioned below default password for sys and system user is our SID.here my SID is "orcl".

Test the connection and save the connection if test is succeeded.
Now create the connection for scott user and provide the password that which you gave in the password management.
I have provided password as "tiger" in password management.
I have provided password as "tiger" in password management.

Test the connection and save the connection if test is succeeded.

Sql developer configuration is successful.